


A/B Testing Roadmap for Checkout Funnels: 12 Steps (2026)
TL;DR
The average cart abandonment rate is 70.22% across all industries, representing $260 billion in recoverable revenue. Most articles on checkout optimization give you random test ideas. This guide gives you an actual phased A/B testing roadmap for checkout funnels, sequenced by impact: diagnose first, ship quick wins in 30 days, run structural tests in days 30 through 60, and stack advanced experiments after that. It also covers the Shopify checkout testing limitations that most guides skip, prioritization frameworks with worked examples, and minimum traffic requirements so you know whether testing is even viable for your store.
If your ecommerce store generates $5 million in annual revenue at a 2.5% conversion rate, improving that rate to just 2.75% adds $200,000 in incremental revenue. That’s a 10% relative lift, which is well within the range of a single well-executed A/B test. The math gets more interesting when you realize that ecommerce brands running structured testing programs achieve cumulative annual conversion improvements of 25 to 40% through a series of small individual wins stacked over 12 months.
The operative word is “structured.” Ad-hoc testing yields ad-hoc results. What you need is a roadmap, not a random list of 50 ideas to test someday.
This guide lays out that roadmap in 12 steps, organized into four phases. It covers what to test first, how to score and prioritize experiments, the tools that actually work for ecommerce checkout testing, and the platform constraints (especially on Shopify) that will trip you up if nobody warns you.
Before building a testing program, it helps to make sure your checkout isn’t broken at a technical level. If you’re on Shopify, start by fixing cart item issues before running experiments on top of a flawed foundation.
Why Start at the Bottom of the Funnel?
The instinct for many store owners is to test homepage banners, navigation layouts, or hero images. That’s backwards.
Checkout and cart pages affect every visitor who has already demonstrated purchase intent. These people picked a product, added it to their cart, and started the buying process. They are your highest-value traffic. Across 47 ecommerce audits conducted by Growth Engines, product pages and checkout flows consistently emerged as the two highest-opportunity areas, accounting for 68% of all testable revenue opportunities.
Checkout optimization tests produce the highest ROI per test of any funnel stage, with comprehensive checkout overhauls delivering 20 to 40% conversion improvement. That’s why this roadmap starts at the bottom of the funnel and works outward.
A/B Testing Tools Comparison Table
Before walking through the roadmap, here’s a quick reference for the tools you’ll encounter throughout this guide. Choose based on your platform, budget, and what part of the funnel you need to test.
| Tool | Best For | Starting Price | Shopify Native? | Checkout Testing? |
|---|---|---|---|---|
| Shoplift | Shopify theme testing | $74/mo | Yes | Limited (no checkout UI) |
| Intelligems | Price and offer testing | $59/mo (Core) | Yes | Price via cart transform |
| VWO | Mid-market all-rounder | $314/mo (Growth) | Via JS | Client-side only |
| Personizely | Budget full-funnel | $47/mo | Yes | Plus only |
| CartFlows | WooCommerce funnels | $37/mo | No (WooCommerce) | Yes (full) |
| Optimizely | Enterprise | ~$50K/yr | Via JS | Server-side |
Now, the roadmap.
Phase 1: The Diagnostic Foundation (Before You Test Anything)
Step 1. Map Your Funnel Drop-Offs with GA4
You can’t optimize what you haven’t measured. Open GA4’s Funnel Exploration report and build a checkout funnel with these steps: product view, add to cart, begin checkout, add shipping info, add payment info, purchase.
The goal is to identify where the biggest percentage drops occur. If 40% of users abandon between “begin checkout” and “add shipping info,” that tells you something different than if the drop happens between “add payment info” and “purchase.”
If your GA4 ecommerce tracking isn’t properly configured, your funnel data will be unreliable and every test decision downstream will be built on sand. Get tracking right first.
Step 2. Run Heatmaps and Session Recordings on Cart and Checkout
Quantitative data tells you where people drop off. Qualitative data tells you why. Install a session recording tool (Hotjar, Mouseflow, or FullStory) and watch 50 to 100 checkout sessions.
Look for: rage clicks on non-clickable elements, users scrolling past important information, hesitation on form fields, and repeated back-button behavior.
Practitioners at Mouseflow shared a case study where Scotts Miracle-Gro used conversion funnels to track exactly where users dropped off between the product page and checkout, identified specific form fields causing abandonment, and made targeted fixes. The result was a 5% boost in conversion rate. That kind of diagnostic specificity is what separates good testing programs from guesswork.
Step 3. Set Your Baseline Metrics
Track more than just conversion rate. You need four numbers:
- Conversion rate (industry average: 1.65%, with top performers reaching 4.7%+)
- Cart abandonment rate (if yours is above 75%, your checkout has serious friction)
- Average order value (AOV)
- Revenue per visitor (RPV)
RPV matters most because a test can increase conversion rate while decreasing AOV, leaving you worse off. Track the metric that reflects actual money, not just percentages. For a deeper framework on measuring what actually matters, understanding contribution margin helps you evaluate tests through a profit lens rather than a vanity metric lens.
Can You Even Run A/B Tests? The Traffic Minimum
This is the honest conversation most testing guides skip.
Traditional frequentist A/B testing tools require 15,000 to 20,000 monthly sessions to reach statistical significance within 4 to 6 weeks. Below 5,000 sessions, tests take 8 to 12 weeks, and the data is often unreliable.
Here’s the practical guidance:
- Under 10,000 monthly visitors: A/B testing will be slow and frustrating. Focus on implementing best practices directly (guest checkout, express payments, trust signals) rather than testing them.
- 10,000 to 50,000 monthly sessions: Run one test at a time to preserve statistical power.
- 50,000+ monthly sessions: You can run 2 to 4 concurrent tests across different pages.
If your traffic is too low for traditional split testing, sequential testing (implementing a change, measuring for 4 to 6 weeks, comparing against the prior period) is a valid alternative.
Phase 2: Quick Wins, Days 1 Through 30
These are the highest-impact, lowest-effort changes. Most stores should implement all four before moving to structural tests.
Step 4. Enable Guest Checkout and Make It the Default
Forcing account creation before purchase is one of the top causes of checkout abandonment. Research from PayPal and Krepling found that offering guest checkout can increase checkout conversions by 45%.
This doesn’t mean eliminating account creation. It means making it optional and placing it after the purchase, not before. Frame it as “Save your info for faster checkout next time?” on the thank-you page.
On Shopify, guest checkout is a setting in your checkout configuration. If it’s not already the default, change it today. This isn’t something you need to A/B test at low traffic levels. Just ship it.
Step 5. Add Express Payment Buttons Above the Fold
Digital wallets now account for 49 to 56% of global ecommerce transaction value. According to Stripe’s research, businesses that offered Apple Pay saw an average 22.3% increase in conversion and a 22.5% boost in revenue.
The reason is friction reduction. Google reports that the average traditional checkout requires 120 clicks, while Apple Pay and Google Pay reduce this to just 4 clicks.
Adding express checkout buttons (Shop Pay, Apple Pay, Google Pay) can increase checkout conversion by 10 to 30%. Place them above the fold on both the cart page and the checkout page. On Shopify, Shop Pay is native, and you can enable Apple Pay and Google Pay through Shopify Payments.
If you’re running a structured D2C growth program, express payments should be one of the first things you implement.
Step 6. Surface Total Costs Early
Unexpected extra costs at checkout are the number one cause of cart abandonment, cited by 48% of US online shoppers in Baymard Institute’s research. When someone reaches the payment step and sees a shipping charge or tax amount they didn’t expect, they leave.
The fix: show estimated shipping costs and taxes on the product page or cart page, before the customer enters checkout. On Shopify, you can add a shipping calculator to the cart page using apps or theme customization. This is fully theme-controlled (no Plus plan required) and can be tested freely.
Step 7. Add Trust Badges Near Payment Fields
Oberlo’s research found that adding trust badges to checkout forms increases conversions by 42%. Place SSL certificates, payment processor logos (Visa, Mastercard, PayPal), and money-back guarantee badges directly adjacent to the credit card fields.
The placement matters as much as the badges themselves. Practitioners on ecomm.design, drawing on 12+ years of experience, report that messaging, clarity, and trust triggers usually perform better than aesthetic changes. A security badge next to the payment form does more than a prettier checkout layout.
Phase 3: Structural Tests, Days 30 Through 60
This is where you start running actual A/B tests. Each experiment below should run for a minimum of 2 full business cycles (typically 2 to 4 weeks) to account for day-of-week effects.
Step 8. Test Checkout Flow Length
The average checkout flow is 5.1 steps long and contains 11.3 form elements. VWO’s research shows that reducing checkout steps from 5 to 3 can decrease abandonment by 27%.
Shopify’s own commerce report found that stores implementing single-page checkout saw abandonment rates fall to 58.4% compared to the 69.99% industry average. That’s a significant gap.
Test single-page checkout against your current multi-step flow. If you keep multi-step, add a progress bar. Progress bars reduce perceived complexity and give users confidence they’re almost done.
Step 9. Reduce Form Fields
Baymard Institute’s research reveals that completion rates drop 4 to 6% for every field beyond the eighth. If your checkout has the average 11.3 form elements, cutting 3 to 4 fields could meaningfully reduce abandonment.
Fields to consider removing or auto-filling:
- Company name (rarely needed for D2C)
- Address line 2 (make it an expandable optional field)
- Phone number (only if not needed for shipping notifications)
- Separate billing address (default to “same as shipping” with a toggle)
Use address auto-complete (Google Places API) to reduce manual typing. On mobile, this is especially impactful since typing on a small screen is the highest-friction action in any checkout.
Step 10. Test Mobile-Specific Variations Separately
Mobile abandonment runs at 80.02% compared to 66.41% on desktop. Most ecommerce stores now get more than 60% of traffic from mobile. Yet many brands still test a single checkout design across both devices.
Successful testing programs create mobile-specific variations. The priorities for mobile checkout differ from desktop: larger tap targets, minimal scrolling, thumb-friendly button placement, and simplified form inputs (numeric keyboard for phone/zip, email keyboard for email field).
One practitioner on ecomm.design reported that moving the “Add to Cart” button higher on mobile product pages increased conversions by 8.4% on a client store. The lesson applies to checkout too: on mobile, the primary action button should never require scrolling to find.
For deeper guidance on improving product pages that feed your checkout funnel, see our guide on optimizing PDPs for higher conversion.
The Shopify Checkout Testing Problem (And How to Work Around It)
This is the section most A/B testing guides skip entirely, and it’s the one that matters most for Shopify merchants.
Since Shopify rolled out its checkout extensibility update in August 2024, direct client-side A/B testing inside the Shopify checkout is no longer possible via traditional JavaScript injection. Third-party tags and A/B tests aren’t allowed to run directly in the checkout. Tracking must go through Shopify Payments and the official pixel infrastructure.
Here’s what that means in practice:
- Shopify Plus stores can customize the checkout page using Checkout Extensibility (UI extensions on the Information, Shipping, and Payment steps). This is the only way to modify the in-checkout experience.
- Standard Shopify stores cannot customize the checkout UI beyond basic settings. You’re limited to Thank You and Order Status page customization, plus editor-level styling.
As GemX, a Shopify funnel testing specialist, puts it: “Testing these pages independently assumes they function independently, which they don’t.” The safest approach is to test around checkout rather than inside it.
Workarounds for Non-Plus Merchants
If you’re not on Shopify Plus, focus your testing energy on these areas:
- Cart page (fully theme-controlled): Test layout, cross-sells, shipping threshold bars, trust signals, and express payment button placement.
- Pre-checkout trust signals: Test copy, shipping calculators, and return policy messaging on the cart page.
- Sequential (before/after) testing: Implement a change, run it for 4 to 6 weeks, compare metrics against the prior period.
- Post-purchase upsells: Available on all plans. Post-purchase upsell offers can achieve an 8 to 15% upsell attach rate and 15 to 25% AOV lift on converting visitors.
The cart page is your most testable asset on standard Shopify. Treat it as your de facto checkout optimization surface.
Phase 4: Advanced Tests, Days 60 Through 90
By this point, you’ve fixed the biggest friction points and run your first structural experiments. Now you’re stacking gains.
Step 11. Test Post-Purchase Upsell Offers
Post-purchase upsells appear after the customer has completed payment but before the thank-you page. Because the buying decision is already made and payment info is already entered, these offers convert at much higher rates than pre-purchase upsells.
Test variables include:
- Offer type: Complementary product vs. same product at a discount vs. bundle
- Discount level: 10% off vs. 15% off vs. free shipping on the add-on
- Number of offers: Single offer vs. two sequential offers
- Timing: Immediately after purchase vs. on the thank-you page
The 8 to 15% upsell attach rate means that for every 100 orders, 8 to 15 customers add something. At a $40 average upsell value, that’s $320 to $600 in additional daily revenue for a store processing 100 orders per day.
Step 12. Test Cart-Page Cross-Sells, Threshold Bars, and Urgency
These tests work on the cart page (accessible to all Shopify plans) and can meaningfully impact AOV:
- Free shipping threshold bars: “You’re $15 away from free shipping” with a progress indicator. Test the threshold amount and the visual treatment.
- Cart-page cross-sells: Test product recommendations based on cart contents. “Frequently bought together” vs. “Complete your order” vs. no cross-sell.
- Urgency and scarcity messaging: “Only 3 left in stock” or “Cart reserved for 15 minutes.” Test whether urgency increases conversion or decreases trust.
Be careful with urgency tactics. If customers suspect the scarcity is fabricated (and many do), it can backfire. Test it, but also watch for increases in customer service complaints or returns.
For a broader look at how creative testing and conversion optimization fit into a D2C scaling strategy, consider how these checkout tests connect to your overall growth plan.
How to Prioritize: A Checkout-Specific Scoring Walkthrough
Having 12 steps doesn’t mean you should run them in strict sequential order. Your store’s data will reveal which tests matter most for you. That’s where prioritization frameworks come in.
Most articles mention ICE and PIE scoring but never show how to apply them to checkout tests specifically. Here’s how.
ICE Framework (Best for Teams Starting Out)
ICE scores each test on three dimensions, each rated 1 to 10:
- Impact: How much will this move the needle on revenue?
- Confidence: How sure are you this will work, based on data?
- Ease: How quickly and cheaply can you implement this?
Multiply all three. Run the highest-scoring tests first.
PIE Framework (Built for CRO)
PIE, created by Chris Goward of WiderFunnel, is purpose-built for conversion rate optimization:
- Potential: How much room for improvement exists on this page/element?
- Importance: How much traffic and revenue flows through this page?
- Ease: How simple is the test to run?
Worked Example: Scoring 5 Checkout Tests
Here’s how five common checkout tests might score using PIE:
| Test Idea | Potential (1-10) | Importance (1-10) | Ease (1-10) | PIE Score |
|---|---|---|---|---|
| Add guest checkout | 8 | 9 | 9 | 720 |
| Add express payment buttons | 7 | 9 | 8 | 504 |
| Reduce form fields from 11 to 7 | 7 | 9 | 6 | 378 |
| Single-page checkout | 8 | 9 | 4 | 288 |
| Post-purchase upsell | 6 | 7 | 7 | 294 |
Guest checkout wins because it has high potential (45% conversion lift in research), flows through the highest-importance page (checkout), and is trivially easy to implement (a settings toggle). Express payments score next because of strong evidence and moderate ease.
Notice that single-page checkout scores lower despite high potential and importance. That’s because it’s harder to implement, especially on Shopify without a Plus plan.
An important nuance from CRO practitioners: different frameworks can produce different winners. As one CRO auditor noted, “ICE, PIE, and PXL gave three different first-priority tests from the same backlog. Three frameworks, three different winners.” The framework matters less than the discipline of scoring before testing. Pick one and use it consistently.
For a deeper dive into building and managing a full testing backlog, see our guide on designing a CRO creative testing roadmap.
Testing Cadence: How Fast Should You Move?
CartFlows recommends a practical cadence: two tests a month for six months is enough to build momentum. A modest 5% lift compounds quickly across a year and makes a real difference to revenue.
Here’s what that looks like mathematically. If you run 12 tests over 6 months and half of them produce a 5% lift:
- Starting conversion rate: 2.5%
- After 6 winning tests at 5% each: 2.5% × 1.05^6 = 3.35%
- On $5M annual revenue, that’s an additional $1.7M
That’s the power of systematic testing. Not one dramatic win, but a series of small, compounding improvements.
A/B Testing Tools for Checkout Funnels
1. Shoplift
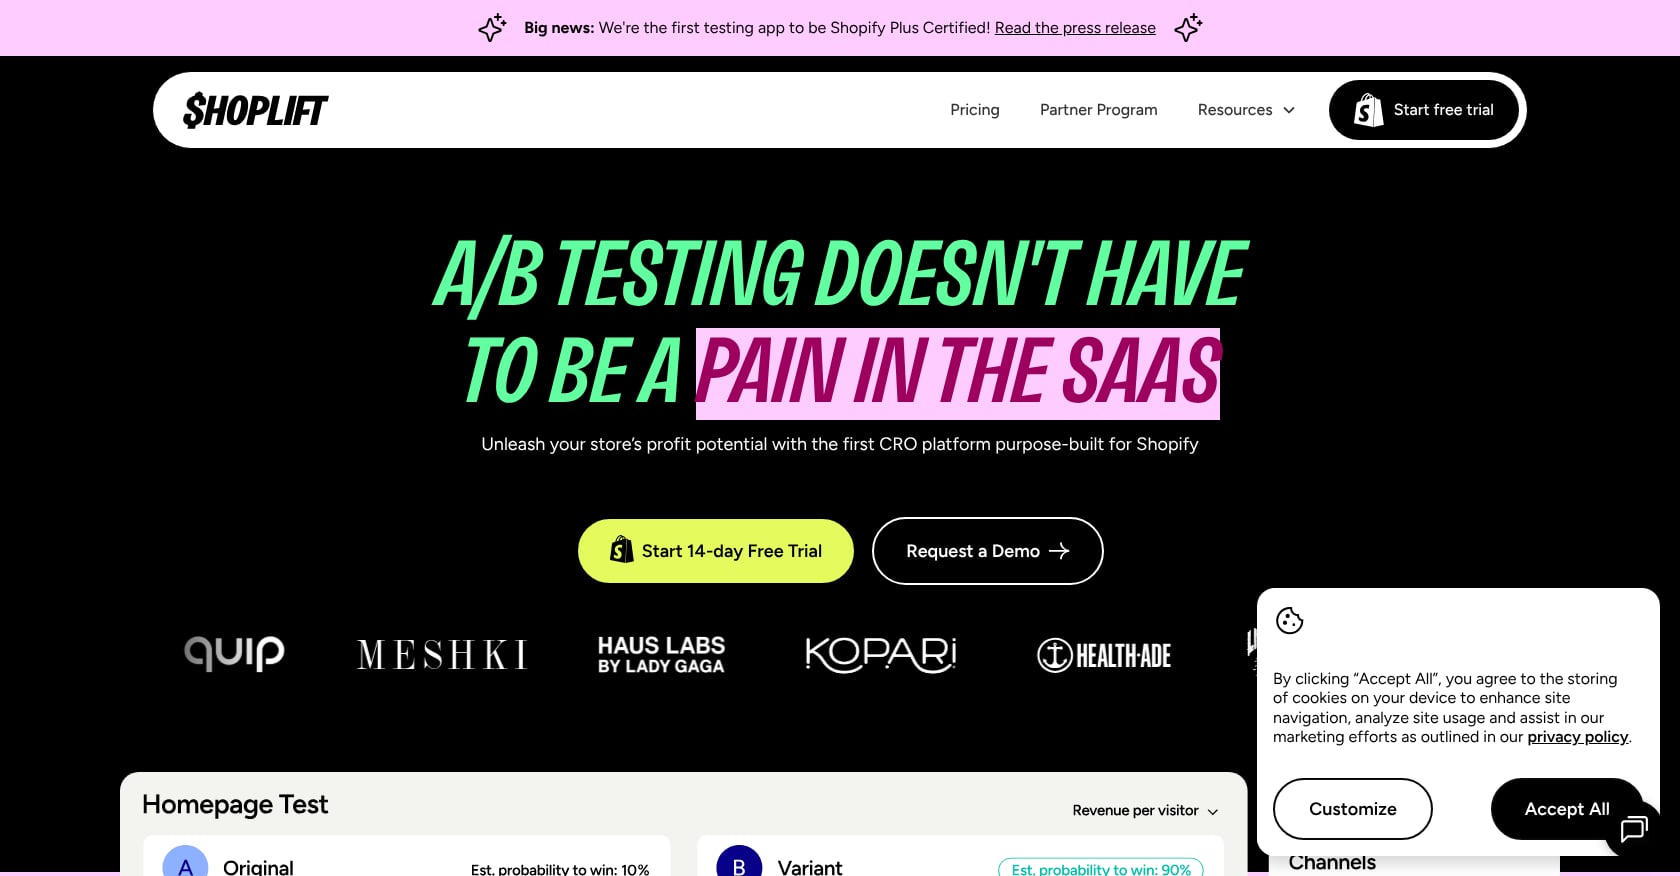
Best for: Shopify theme and landing page testing
- Pricing: Starting at $74/mo
- Key features:
- Native Shopify integration, no code required
- Theme-level split testing (headers, collections, PDPs)
- Visual editor for creating variants
- Limitations:
- Cannot test inside the Shopify checkout UI
- Limited to theme-controlled pages
- Not suitable for price or offer testing
- Practitioners on Reddit report that Shoplift works well for above-the-fold layout tests but struggles with more complex multi-page experiments.
2. Intelligems
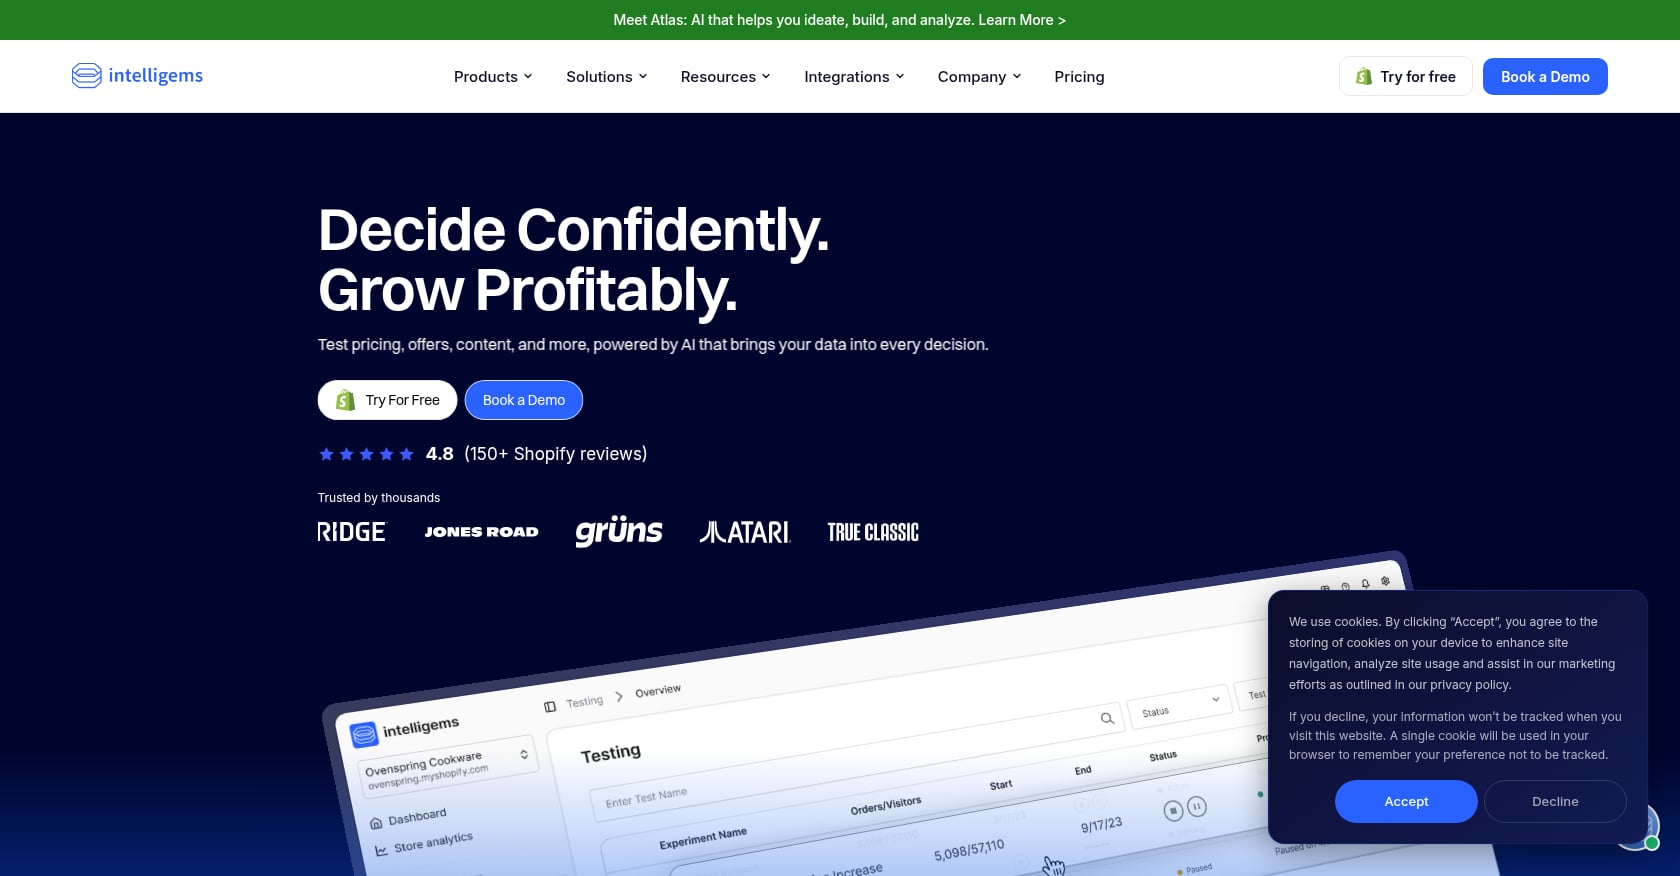
Best for: Price, offer, and shipping rate testing on Shopify
- Pricing: Core plan at $59/mo covers landing page tests and discount testing. Price testing and shipping rate testing require the Plus plan at $374/mo.
- Key features:
- True price A/B testing via cart transforms
- Shipping rate experiments
- Discount and offer testing
- Limitations:
- Price testing locked behind the higher-tier plan
- Shopify-only (no WooCommerce support)
- Requires careful setup to avoid customer confusion
3. VWO
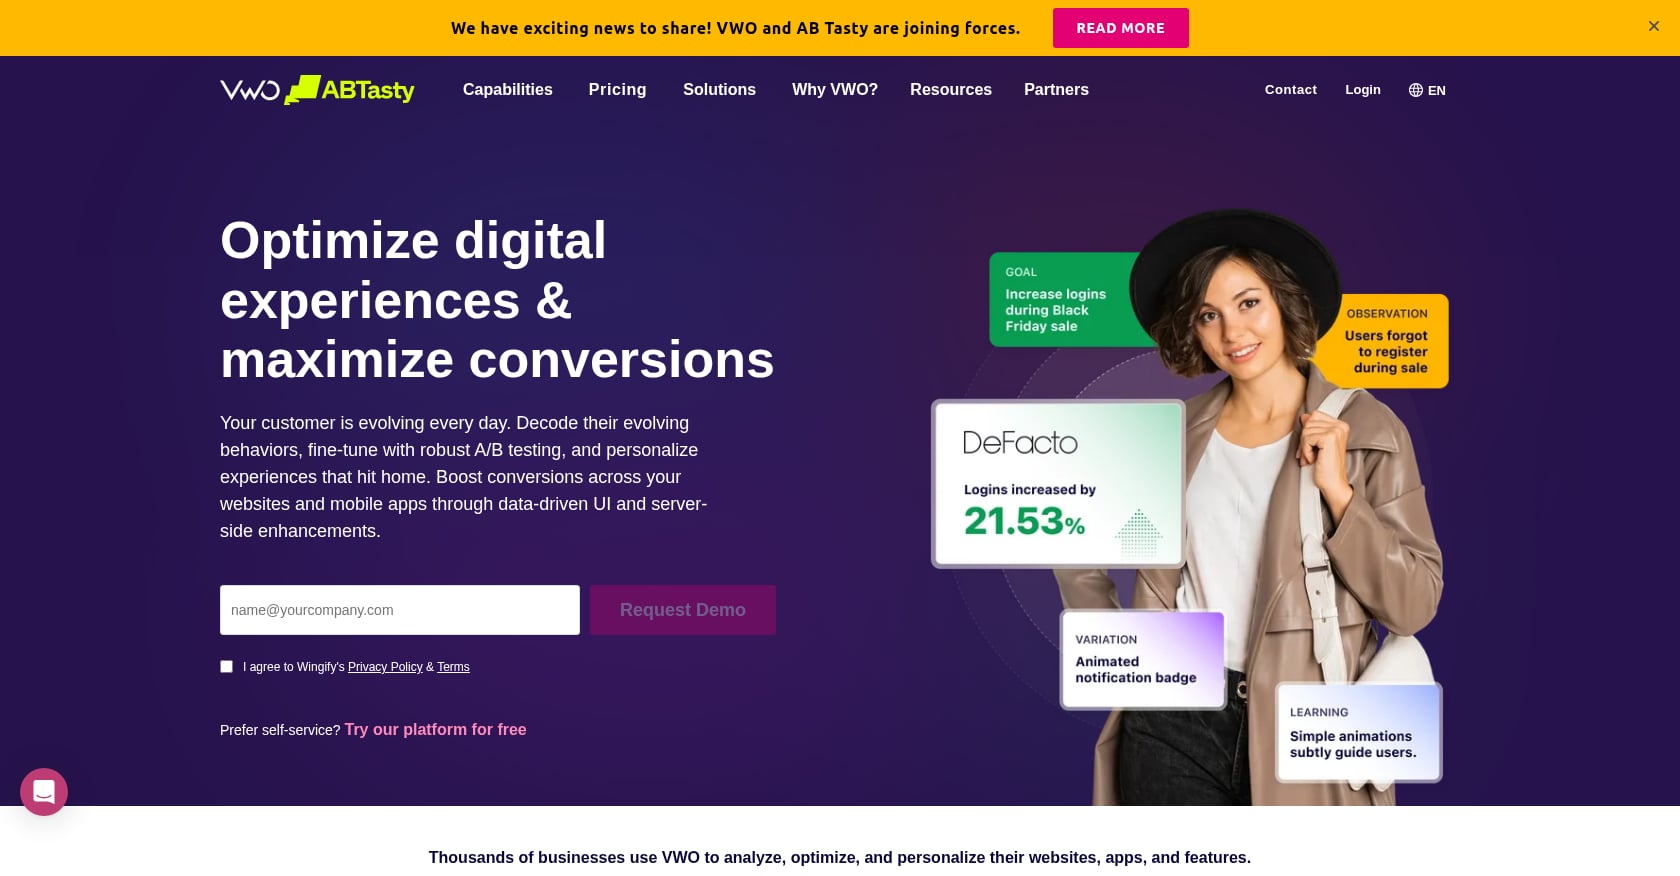
Best for: Mid-market ecommerce brands wanting a full-featured testing platform
- Pricing: Starting at $314/mo for the Growth plan
- Key features:
- Visual editor, code editor, and server-side testing
- Heatmaps and session recordings included
- Behavioral targeting and segmentation
- Limitations:
- Integrates with Shopify via JavaScript, which means checkout testing is client-side only and subject to Shopify’s restrictions
- Higher price point than Shopify-native alternatives
- Steeper learning curve for small teams
4. Personizely
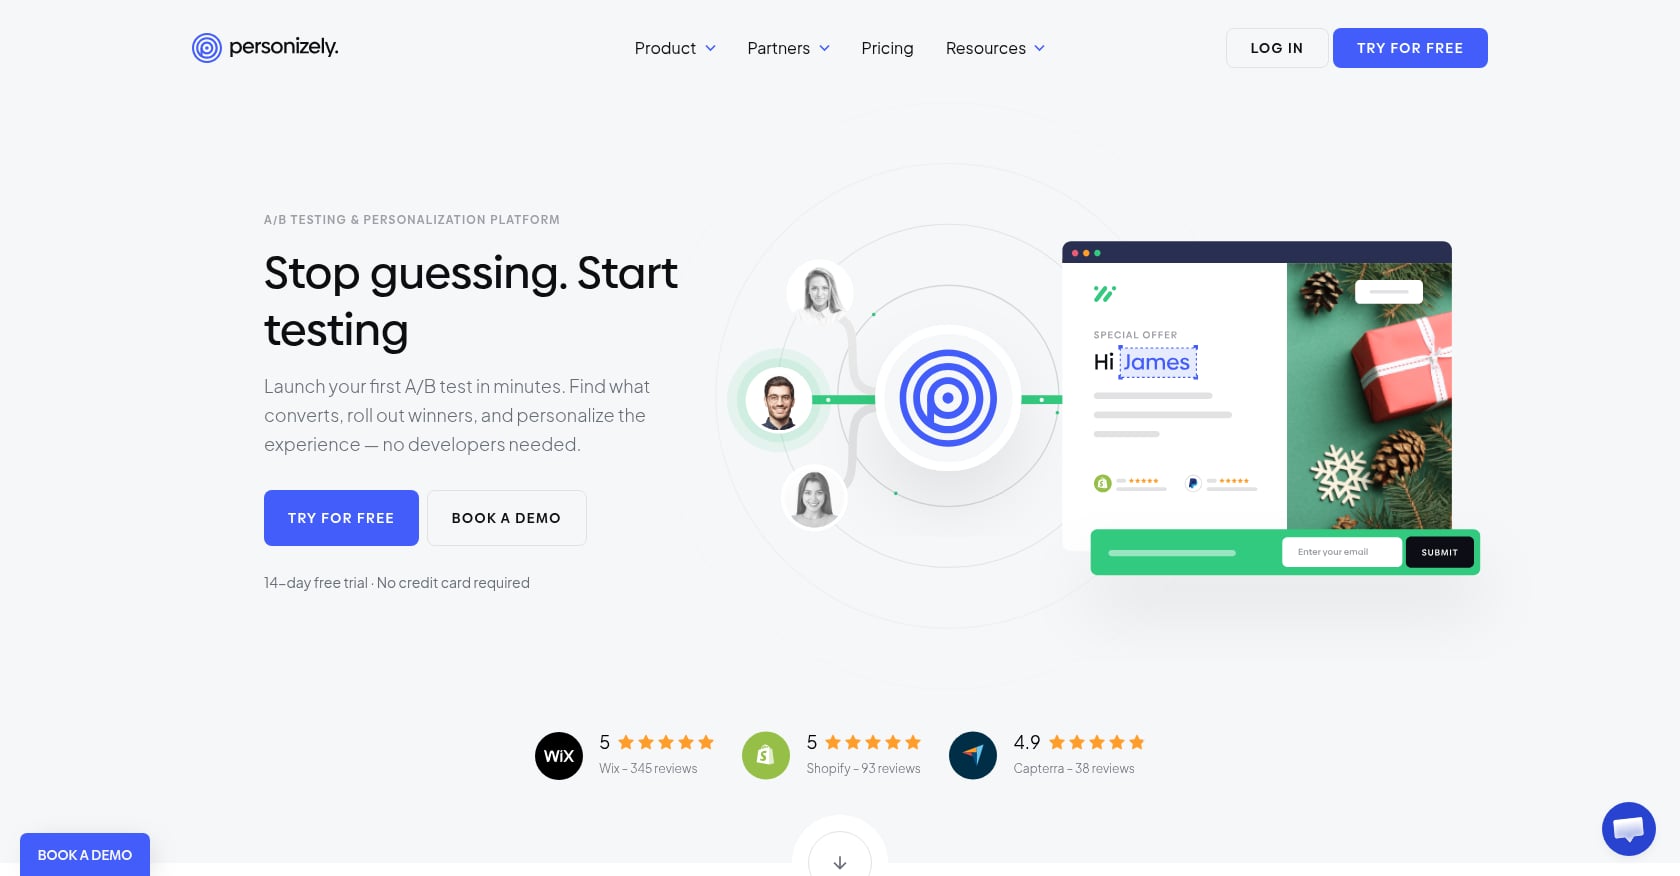
Best for: Budget-conscious stores needing full-funnel personalization
- Pricing: A/B testing starting at $47/mo
- Key features:
- Popups, bars, and embedded content testing
- Shopify-native integration
- Audience targeting rules
- Limitations:
- Checkout testing only available for Shopify Plus stores
- Smaller feature set compared to VWO or Optimizely
- Less community documentation and support content
5. CartFlows
Best for: WooCommerce funnel building and checkout testing
- Pricing: $37/mo
- Key features:
- Full checkout flow customization on WooCommerce
- Built-in A/B split testing for checkout steps
- One-click upsells and order bumps
- Limitations:
- WooCommerce only, no Shopify support
- Requires WordPress hosting management
- Funnel builder approach may not suit all store architectures
6. Optimizely
Best for: Enterprise ecommerce with dedicated experimentation teams
- Pricing: Contracts start at approximately $50,000/year and scale to $150,000+
- Key features:
- Server-side and client-side experimentation
- Feature flags for staged rollouts
- Advanced statistical models (sequential testing, multi-armed bandits)
- Full API access
- Limitations:
- Pricing puts it out of reach for most small and mid-size stores
- Requires technical implementation resources
- JavaScript integration on Shopify faces the same checkout restrictions
7 Mistakes That Kill Checkout Testing Programs
1. Peeking at Results on Day 3
A test result that looks promising at day 3 often regresses to baseline or flips negative by day 14. Statistical significance requires time and sample size. Set your test duration before launching (minimum 2 weeks, ideally 4) and don’t make decisions based on early data.
2. Testing Button Colors Instead of Structural Friction
Changing a button from green to orange is not a meaningful test. Removing a forced account creation step is. Focus your testing energy on structural friction: form fields, checkout steps, payment options, and trust signals. Aesthetic tweaks can come later, if ever.
3. Running Tests Without Enough Traffic
If your store gets 3,000 monthly sessions, a checkout A/B test will take months to reach significance. Be honest about your traffic and use sequential testing or direct implementation when split testing isn’t viable.
4. Ignoring Mobile as a Separate Audience
89% of successful testing programs create mobile-specific variations. Desktop and mobile users behave differently, abandon for different reasons, and interact with checkout forms in fundamentally different ways. Always segment your test results by device, and consider running mobile-only experiments.
5. Tracking Conversion Rate but Ignoring Revenue
A test that increases conversion rate by 5% while decreasing AOV by 8% is a losing test. Always track revenue per visitor alongside conversion rate. Even better, track contribution margin. Our guide on finding hidden costs that reduce margin explains why profit-first measurement matters.
6. Testing Pages in Isolation
As the specialists at GemX point out: “Customers do not convert on a single page. They move through a sequence. And friction rarely exists in isolation.” A change to your product page affects cart behavior, which affects checkout completion. Think in systems, not pages.
7. Having No Measurement Infrastructure
If your analytics setup has discrepancies between what your ad platforms report and what your backend shows, your test results will be unreliable. Fix your conversion tracking discrepancies before investing in a testing program.
Putting It All Together: Your 90-Day A/B Testing Roadmap for Checkout Funnels
Here’s the complete sequence:
Week 1-2 (Diagnose):
- Set up GA4 funnel exploration
- Install session recording tools
- Document baseline metrics (CVR, cart abandonment, AOV, RPV)
- Assess traffic volume to determine testing feasibility
Week 2-4 (Quick Wins):
- Enable guest checkout as default
- Add express payment buttons above the fold
- Surface shipping and tax estimates on cart page
- Place trust badges near payment fields
- Score remaining test ideas using PIE or ICE
Week 5-8 (Structural Tests):
- Test checkout flow length (single-page vs. multi-step)
- Test form field reduction
- Launch mobile-specific variation test
Week 9-12 (Advanced Tests):
- Test post-purchase upsell offers
- Test cart-page cross-sells and shipping threshold bars
- Review all results, document learnings, plan next quarter
Two tests a month. Six months of consistent execution. That’s how systematic testing compounds into the 25 to 40% annual conversion improvement that top ecommerce brands achieve.
If you want a team to diagnose your funnel, build a prioritized testing backlog, and run experiments month over month, get a free brand audit to identify where your biggest revenue opportunities are hiding.
Frequently Asked Questions
What is an A/B testing roadmap for checkout funnels?
It’s a phased, prioritized plan that tells you which checkout experiments to run and in what order. Instead of randomly testing button colors or headlines, a roadmap sequences tests by expected impact: diagnostic work first, then quick wins like guest checkout and express payments, then structural changes like form field reduction and flow length, and finally advanced experiments like post-purchase upsells.
How much traffic do I need to A/B test my checkout?
At minimum, 10,000 monthly visitors. Traditional frequentist tools require 15,000 to 20,000 monthly sessions to reach statistical significance within 4 to 6 weeks. If you’re below 5,000 sessions, tests will take 8 to 12 weeks and results may not be reliable. Lower-traffic stores should implement known best practices directly and use sequential testing instead of split tests.
Can I A/B test the Shopify checkout page?
Only on Shopify Plus. Since August 2024, Shopify’s checkout extensibility update blocks third-party JavaScript in the checkout. Standard Shopify stores cannot run client-side A/B tests inside the checkout UI. The workaround is to test aggressively on the cart page (which is fully theme-controlled) and use sequential testing for checkout changes made through Shopify’s native settings.
What should I test first in my checkout funnel?
Guest checkout, express payment buttons, upfront cost transparency, and trust badges. These four changes have the strongest research backing (45% conversion lift for guest checkout, 10 to 30% for express payments, 42% for trust badges) and are the easiest to implement. Use a PIE or ICE scoring framework to confirm priority based on your store’s specific data.
How long should I run each A/B test?
A minimum of 2 full weeks, ideally 4 weeks. This accounts for day-of-week variation and ensures you collect enough data for statistical significance. Never make decisions based on results from the first 3 days, no matter how promising they look.
What metrics should I track for checkout A/B tests?
Conversion rate, revenue per visitor (RPV), average order value (AOV), and ideally contribution margin. Tracking conversion rate alone is insufficient because a test can lift conversions while lowering order value, producing a net negative result. RPV captures both dimensions.
How many tests should I run at the same time?
For stores with 50,000+ monthly sessions, 2 to 4 concurrent tests across different pages is manageable. For lower-traffic stores, stick to one test at a time to preserve statistical power. Never run two concurrent tests on the same page, as the interaction effects make results uninterpretable.
What’s a realistic conversion lift from checkout optimization?
Individual tests typically produce 5 to 15% relative lifts. Baymard Institute’s research suggests that the average large ecommerce site can gain a 35.26% increase in conversion rate through better checkout design. Comprehensive checkout overhauls (multiple sequential tests) commonly deliver 20 to 40% cumulative improvement over 6 to 12 months.